How to download and install ExpressVPN on Mac - TechnW3
Getting started with our top-rated VPN for Mac is super easy.
We consider ExpressVPN to be the best VPN out there. If you're looking for a good quality service to use on your Apple devices, getting started with ExpressVPN is super easy.
Before you start with ExpressVPN
Before you get started with ExpressVPN, you'll need to make sure you've signed up for an account. There's no free trial, but there is a 30-day money-back guarantee which lets you try it out risk-free. Right now, you can get 15-months of ExpressVPN for the price of 12 paired with that money-back guarantee which is one of the best VPN deals around.
Choose the subscription length you want, from one month to six months or the 12/15-month tier, enter your details, and how you want to pay and you're good to go.
ExpressVPN
See latest pricing at ExpressVPN
This is our top pick for anyone looking to get started with a VPN. It offers a great mix of speed, reliability, outstanding customer service, and affordability. There is a 30-day money-back guarantee, so give it a shot today.
How to install ExpressVPN on Mac
The main reason you need to set up an ExpressVPN account first is that your online dashboard is where you can download the macOS app. It's also where you'll find your activation code. Without these two things, you won't be able to install ExpressVPN on your Mac (or any other device) and activate it.
So, once you're signed up and logged in, you'll be given a list of download links, though it should also detect you're on macOS and present that download link to you most prominently.
Once you have the installer downloaded, follow these steps.
- Open the ExpressVPN installer and follow the instructions ot install the app.
-
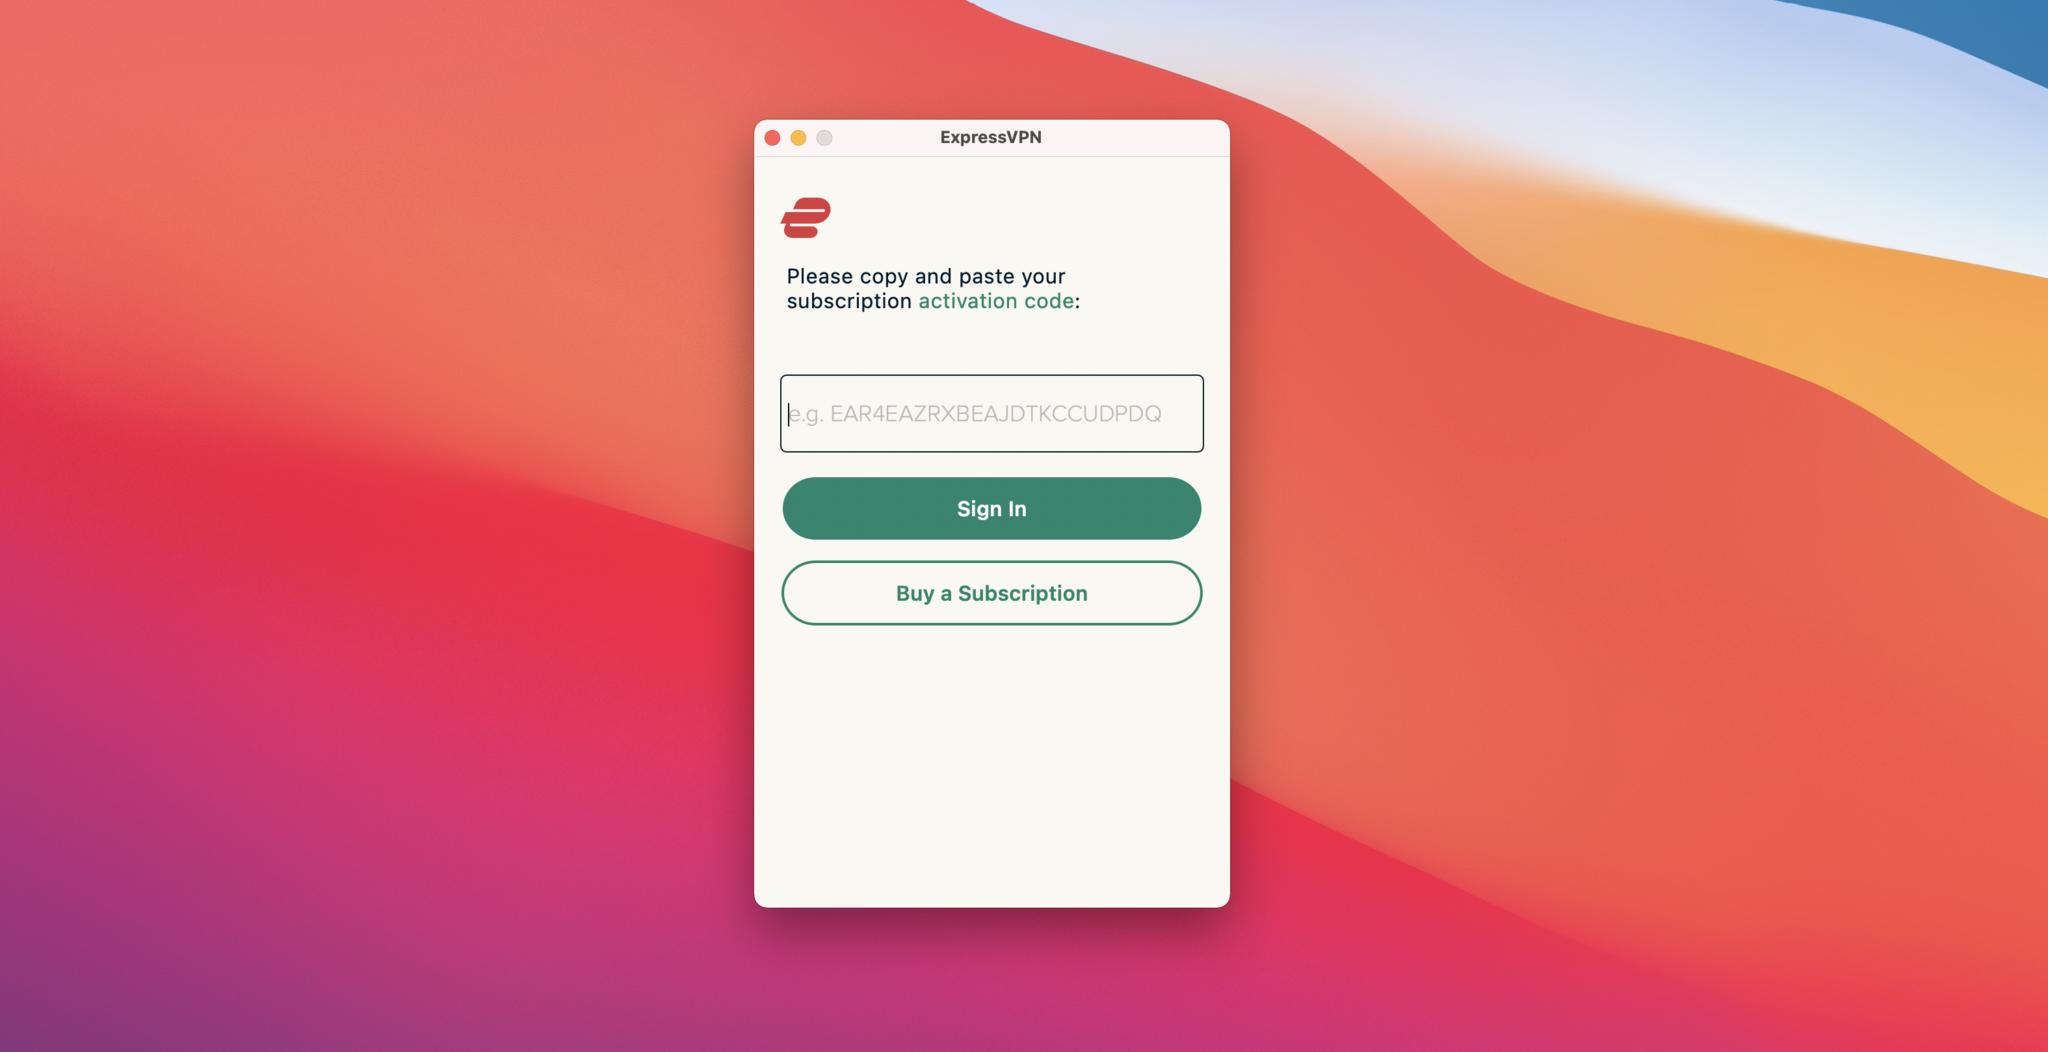
Once the app is installed, open it, enter your activation code found on your dashboard, and click Sign In.
-
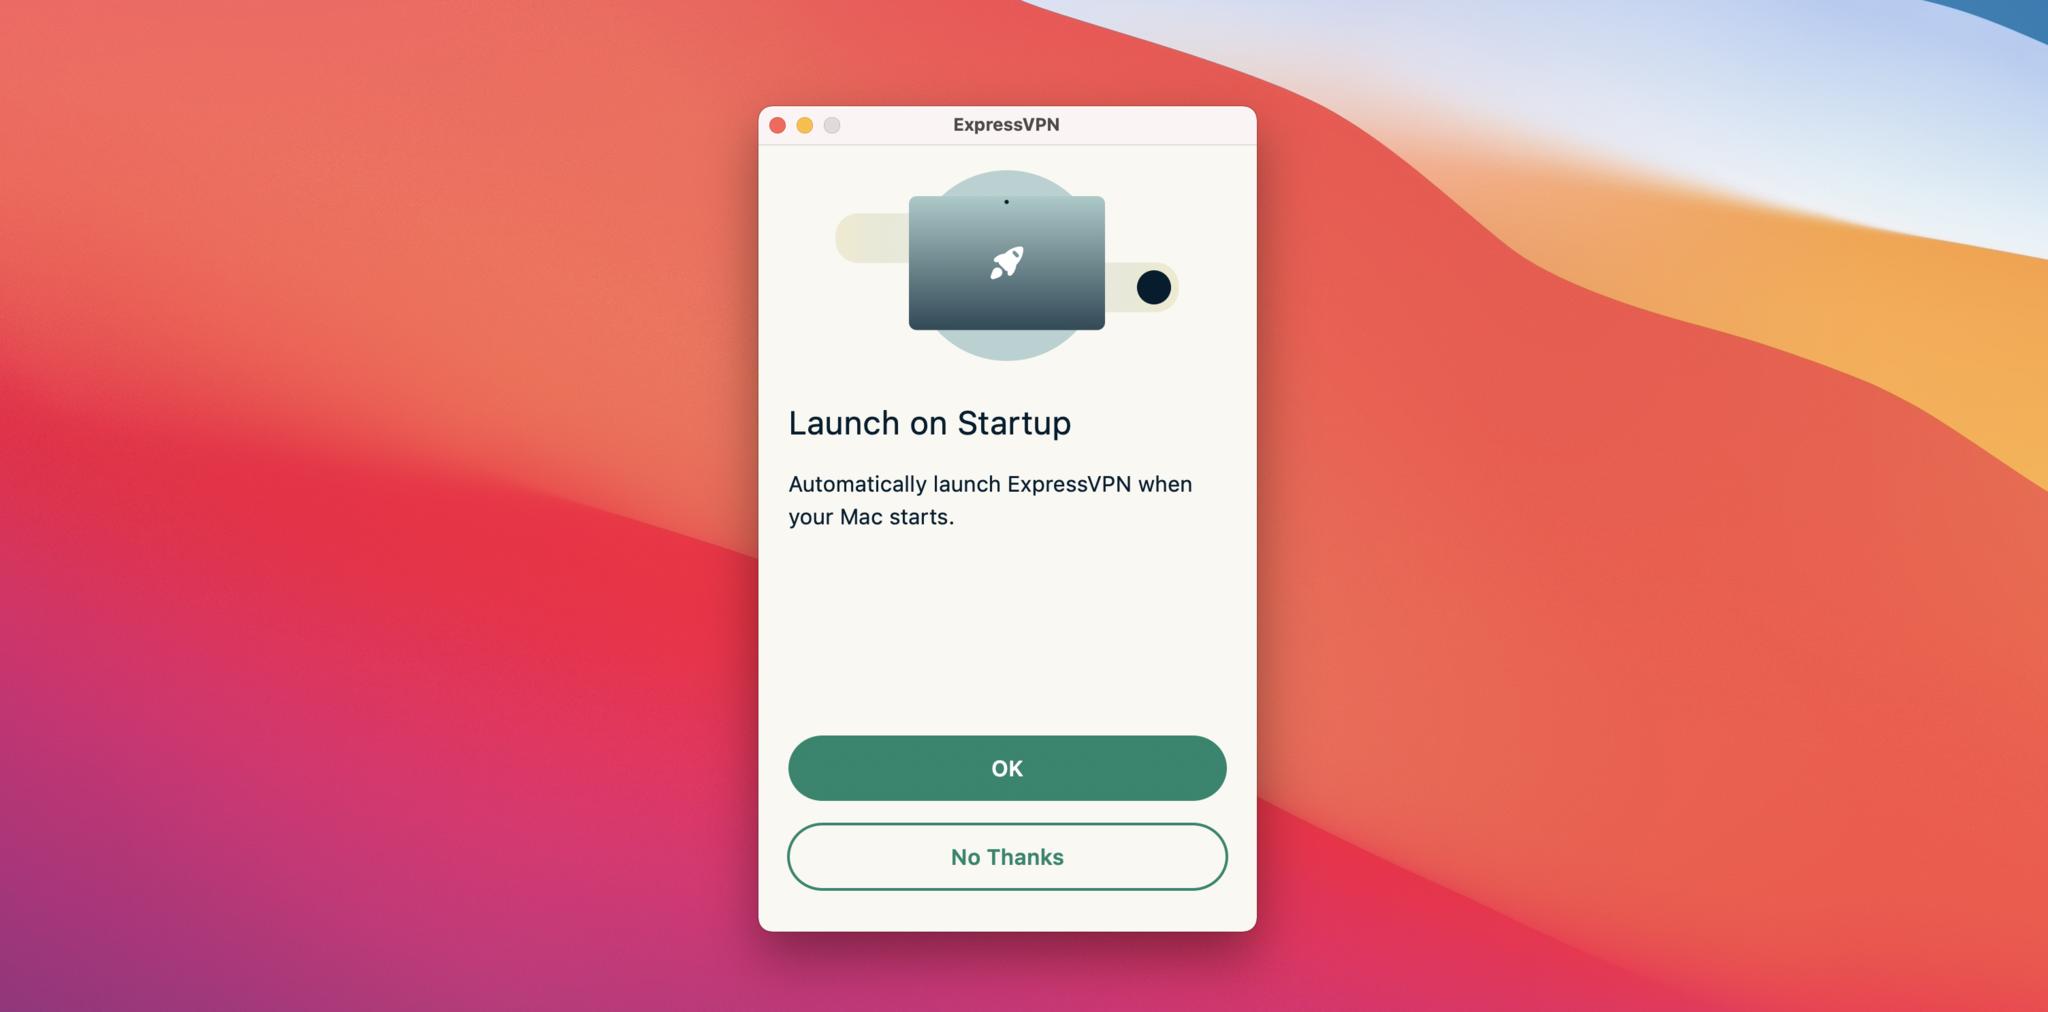
Choose whether you want ExpressVPN to launch at startup when you turn on or reboot your Mac.
-
Choose whether or not to share crash reports and other diagnostic information with ExpressVPN (no personal information is included).
That's it! ExpressVPN is now installed on your Mac and, as it's a self-contained app, you don't need to do any setup anywhere else.
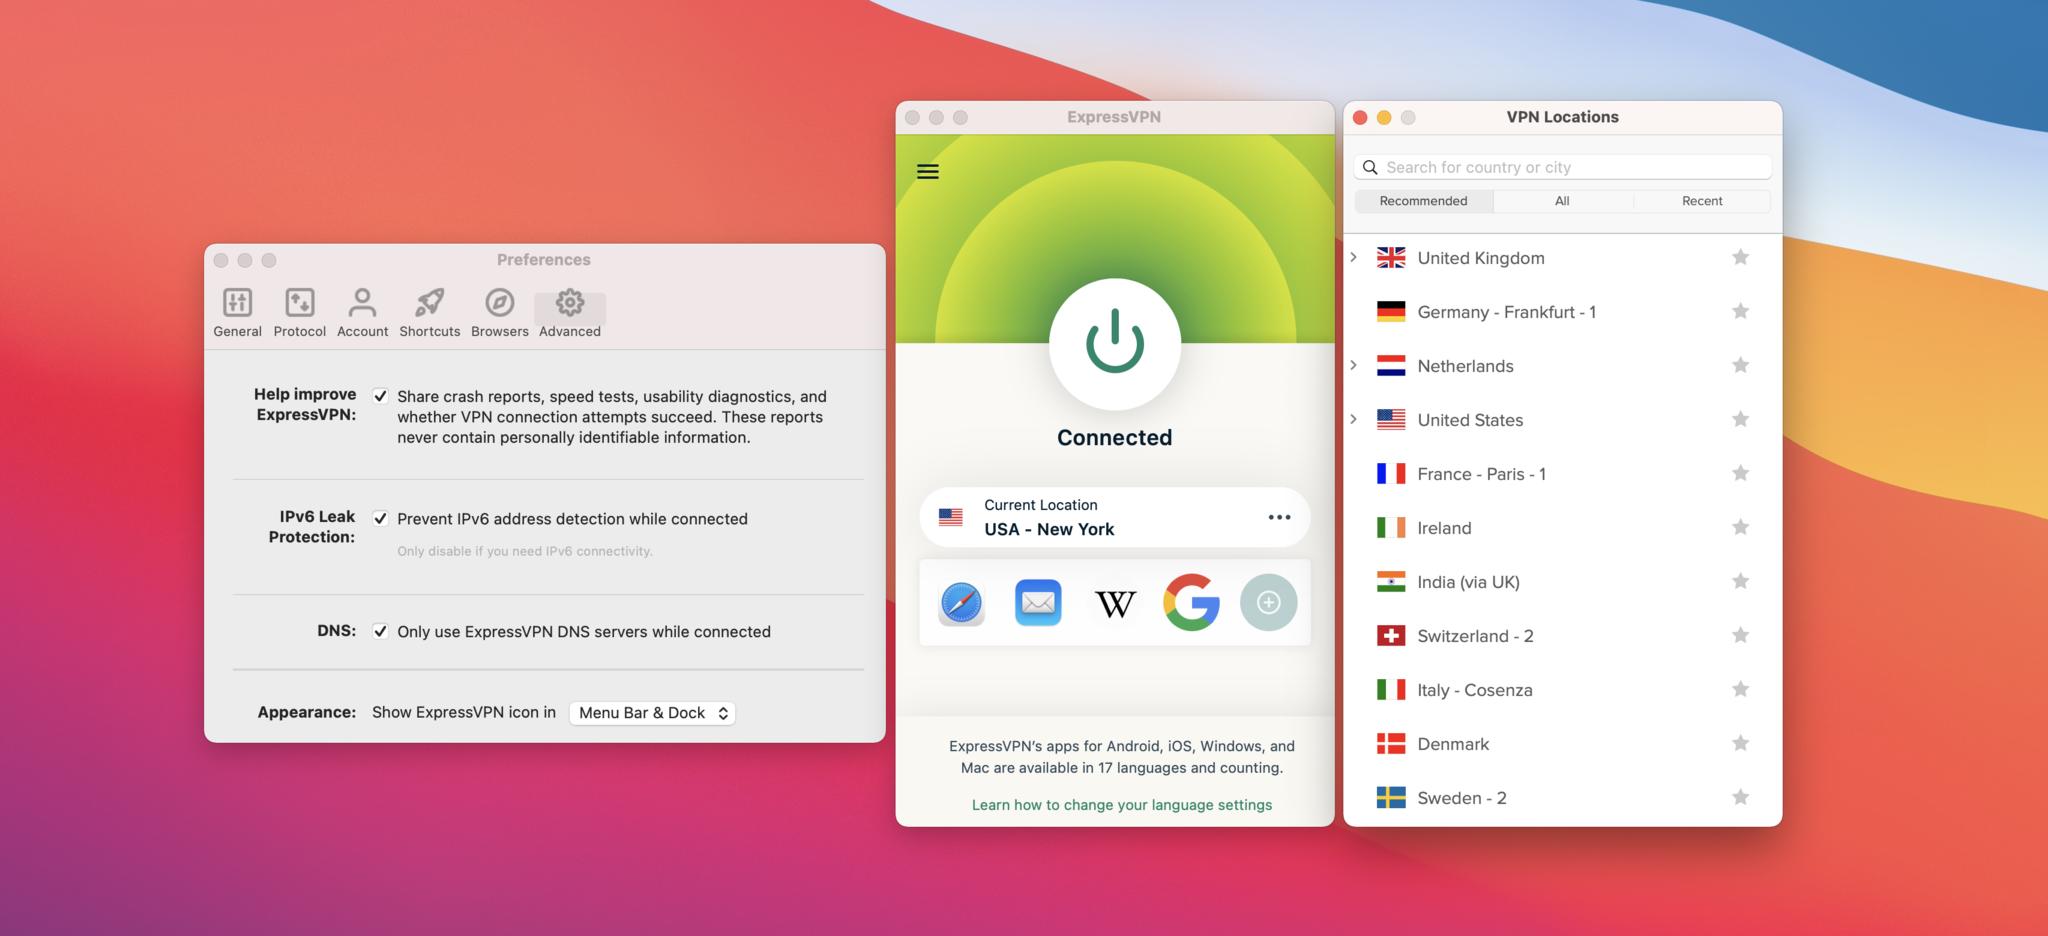
Turning on your VPN and choosing a location is super simple from within the ExpressVPN app or from the Menu Bar. ExpressVPN has over 3,000 servers across 160 locations in 94 countries, so you've plenty of choice. Simply select the location you want and hit the big power button to turn it on.
Within the ExpressVPN preferences, there are some other settings you might want to take a look at to customize your experience, plus some advanced settings that power users might want to have a look at.
If you have ExpressVPN launch at startup, it's also a good idea to set it launch but keep the app hidden (via Login Items in your User preferences) so it doesn't pop up on the screen every time. If you're going to use the same server locations most of the time, you can enable the app to use the last location every time it starts up.
There are also extensions for Google Chrome and Firefox if you spend a lot of time in one of those browsers. They do still require the Mac desktop app to be installed and running, though.
With up to five sessions allowed at once on your account, you also have enough flexibility to run it on your mobile devices and laptop as well as a desktop. There's a lot you get from ExpressVPN, so give it a try if you're looking for a good VPN for your Mac.
from iMore - Learn more. Be more.
via TechnW3


No comments: