Explore those cliffs in Animal Crossing by crafting a ladder - TechnW3
Reach new heights by getting yourself a ladder.
Life on your deserted island is pretty ideal. There are rare bugs to discover, unique fish to catch, and plenty of materials to harvest from the land. However, you won't be able to access every section of your island right away. If you want to scale those towering cliffs, you're going to need a ladder first. Here's how to unlock the ladder in Animal Crossing: New Horizons and reach those taunting goodies on the cliffs.
How to get the ladder in Animal Crossing: New Horizons
As with many other items on the island, you need to craft the ladder on your workbench. The thing is, you'll need to have completed several prerequisites if you want to unlock the ladder's DIY recipe. Here's what you need to do.
1. Invite new villagers to your island
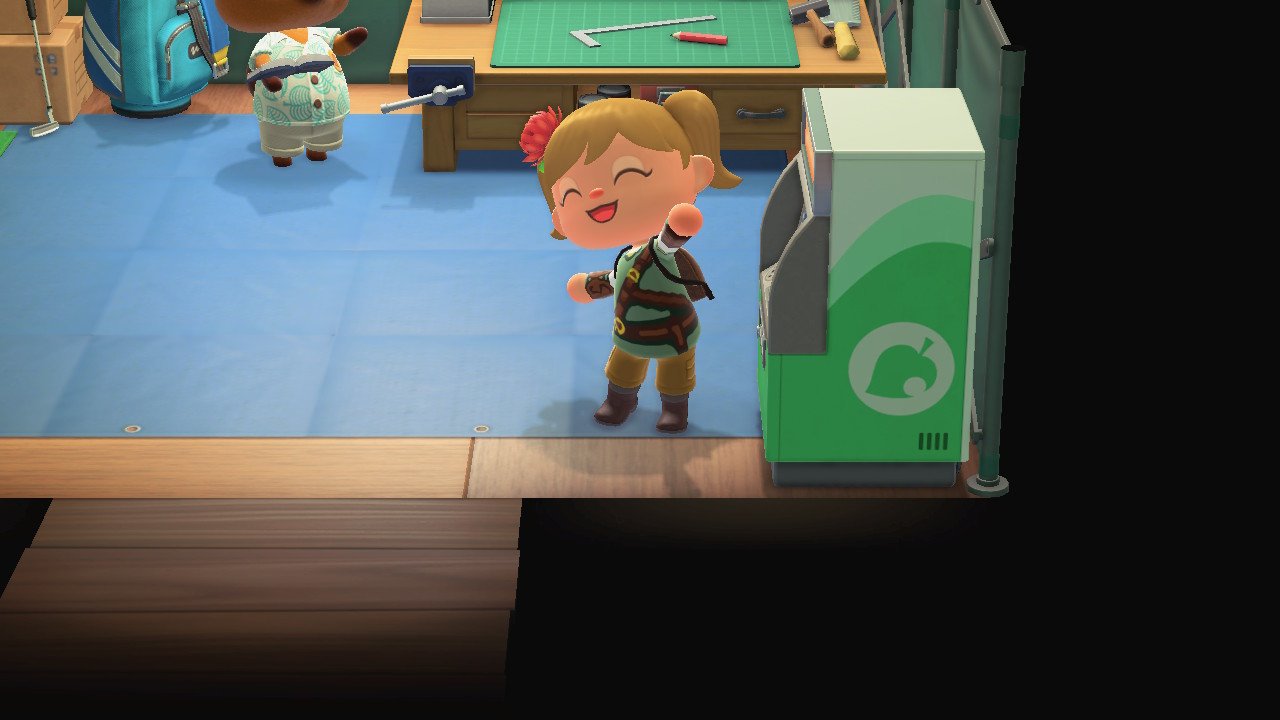
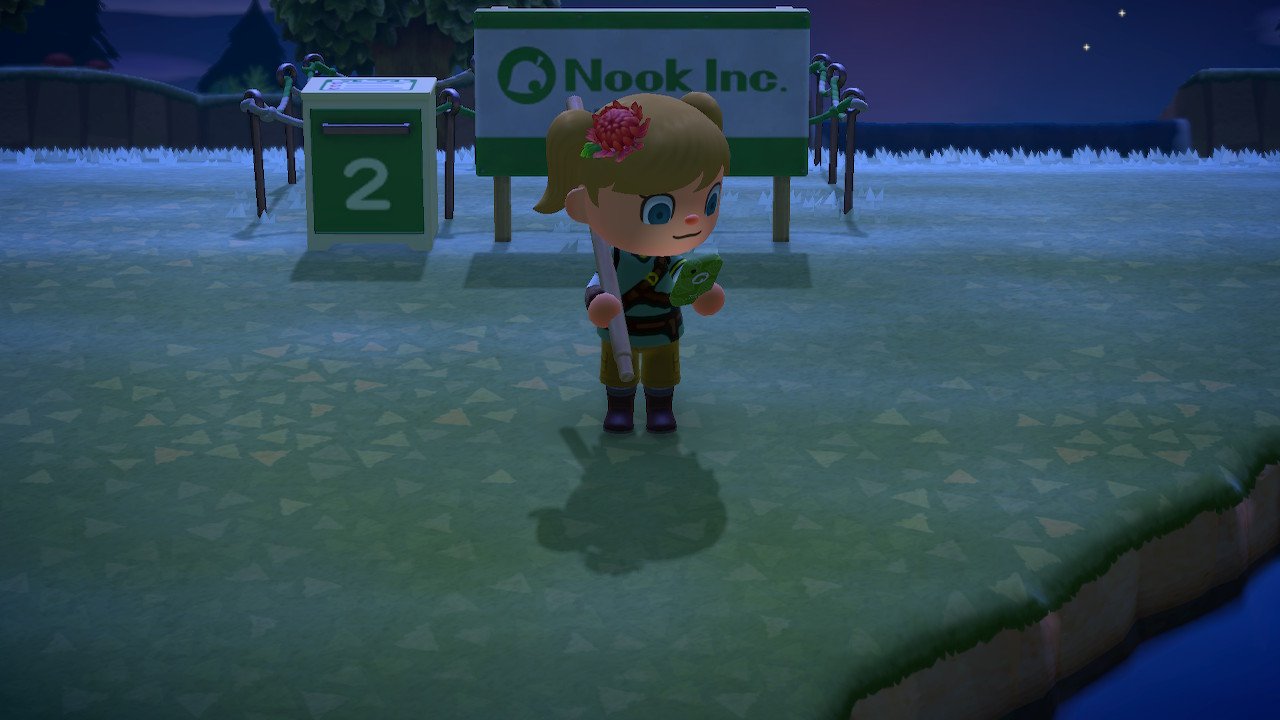
As soon as you begin your island life, you're going to want to start earning Nook Miles. These are just rewards given to you for completing specific tasks, whether that be catching a certain number of bugs, bagging a certain amount of fish, or even making a certain amount of money. Once you have 2,000 Nook Miles, head to Tom Nook's green Resident Services tent and approach the green kiosk on the right side.
Here, you'll need to access Nook Miles Rewards and purchase a Nook Miles Ticket for 2,000 Nook Miles. Now it's time to head to the airport. Note that the airport isn't available on your first day of playing the game. Talk to Orville behind the counter and tell him that you want to visit other islands using your Nook Miles Ticket.
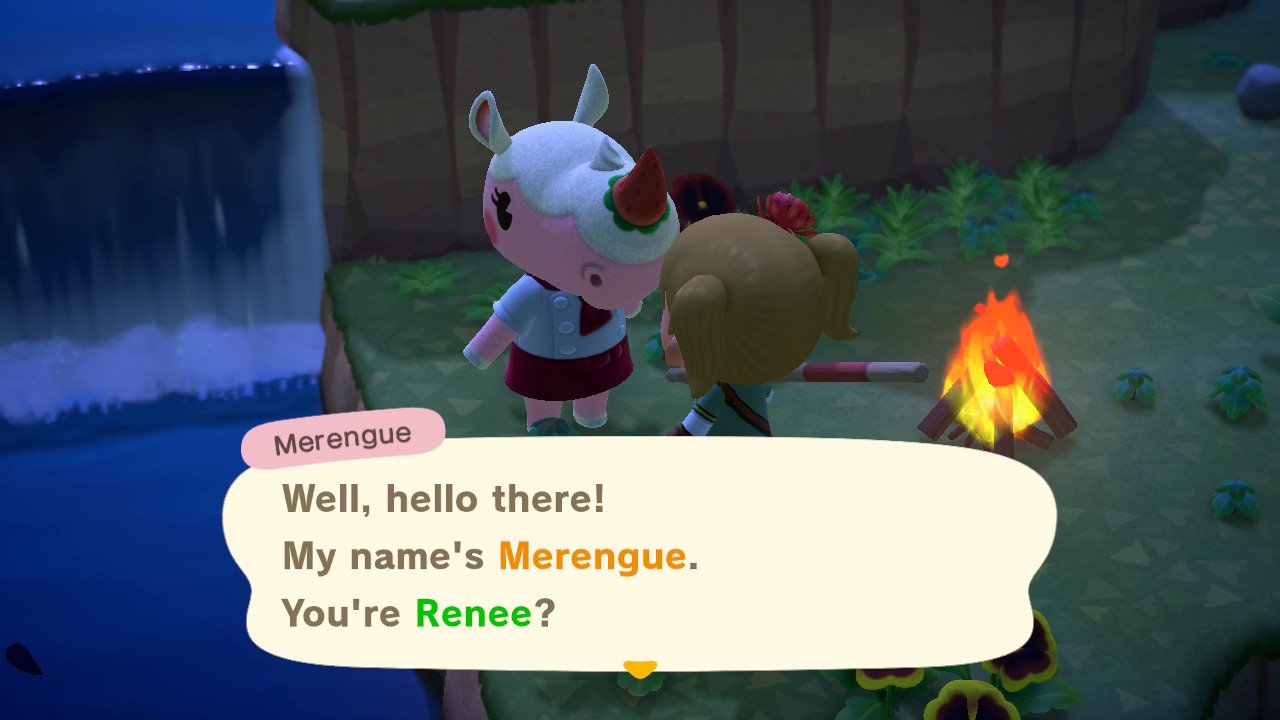
Upon flying to another island, run around until you discover an animal NPC wandering about. Talk to them a couple of times until you get the opportunity to invite them to your island. You'll need to visit three different islands and invite three different NPCs to your island to complete this portion.
While you're on these islands, gather all the resources you can, especially the wood you get from hitting trees with your ax and the stone, clay, and iron you get from hitting rocks with an ax or shovel. You're going to need it soon! Since you can never return to the same island, you don't have to worry about cutting down trees or breaking rocks, so pillage to your heart's content.
2. Open Nook's Cranny
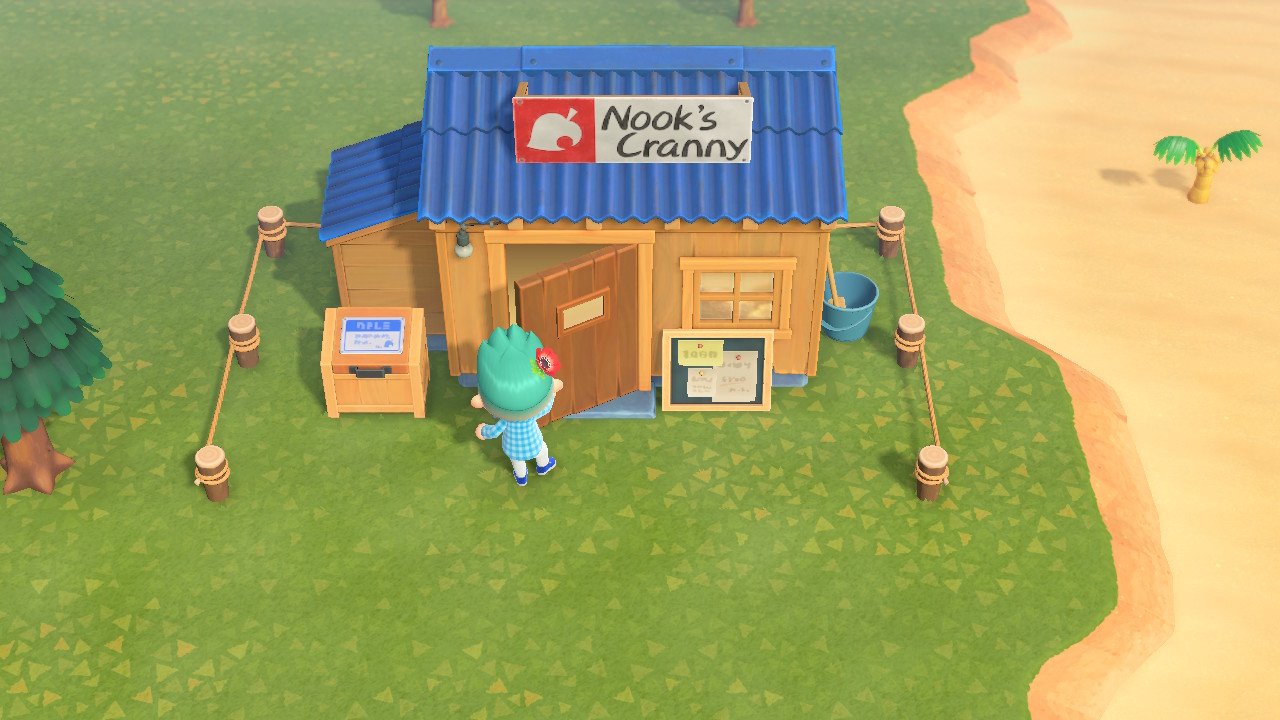
The next day, Timmy Nook will let you know about his ambition to build his own shop. He's looking to you to provide the construction materials:
- 30 Wood
- 30 Hardwood
- 30 Softwood
- 30 Iron Nuggets
Gathering the wood is pretty easy. Just wander around hitting all the trees on your island with an ax a few times, and they'll drop some mix of wood types depending on the type of tree. You can always plant a few more trees to increase the rate at which you can gather, though they'll take a few days to grow big enough to be harvested from. Gathering the iron takes longer since there are only a few rocks you'll be able to access on your island, and they randomly produce iron, stone, or clay.
The resources you gathered on your island recruiting trips will help, but if you still don't have enough, you should try to gather up more Nook Miles and make another trip or two. If you talk to your villagers, they might also help you out with some of the components. You'll need to donate all of each type of material at once, so keep some pocket space open. Once you've given Timmy everything he needs, he'll ask you to pick out a location for the shop. Stake out a spot and come back the next day.
3. Build a bridge
Once Nook's Cranny is open, Tom Nook will receive a call letting him know that those three villagers you invited to your island are ready to move in. He wants to make sure it will be easy for the incoming villagers to get around and that there will be enough space for their homes. His solution is for you to choose the location for a new bridge which will be built the following morning.
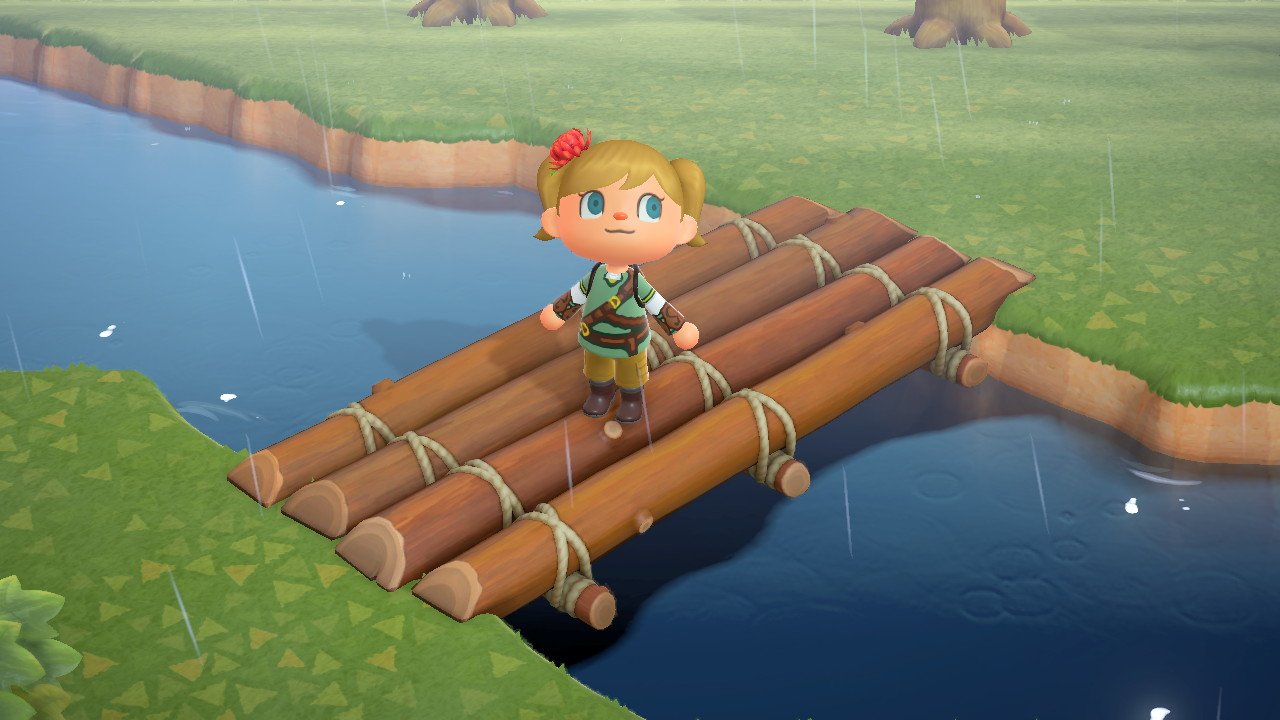
He'll give you a recipe for the bridge, and then you'll need to craft it using four log stakes, four clay, and four stones. Once you've created the bridge, scout around your island for a good place to put it. Note that this recipe will disappear from your workbench list once you've made the bridge, so be sure to place this bridge somewhere useful.
4. Pick out some land for your new residents
Go back and report to Nook that you've placed the bridge somewhere on the island. He'll inform you that he needs your help picking out decent locations for each of the new residents that are on their way. Now you'll need to run around the island and stake out future homes for each of these newcomers. Once each of the three future homesites has been claimed, Tom Nook will call and tell you that he's sent you a recipe for a ladder.
5. Get crafting!
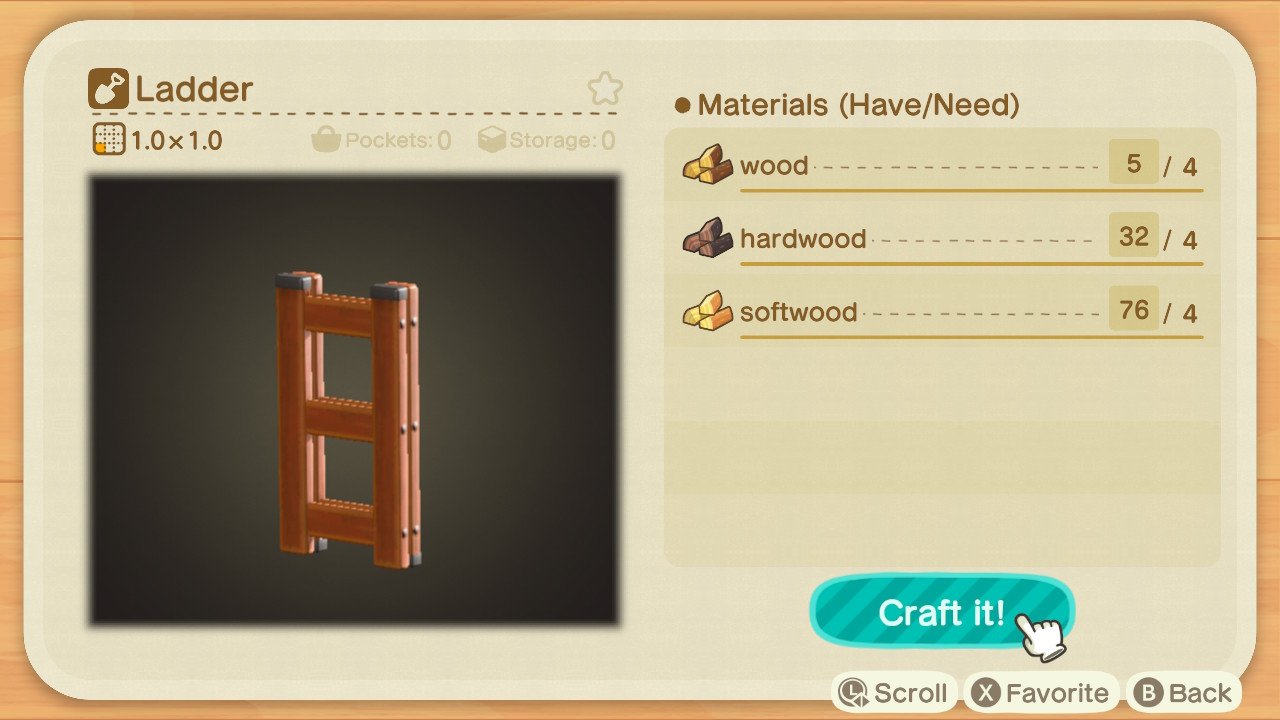
After all that running around, the only thing left for you to do is to craft the ladder. Head back to a workbench and supply four wood, four hardwood, and four softwood to build this handy tool.
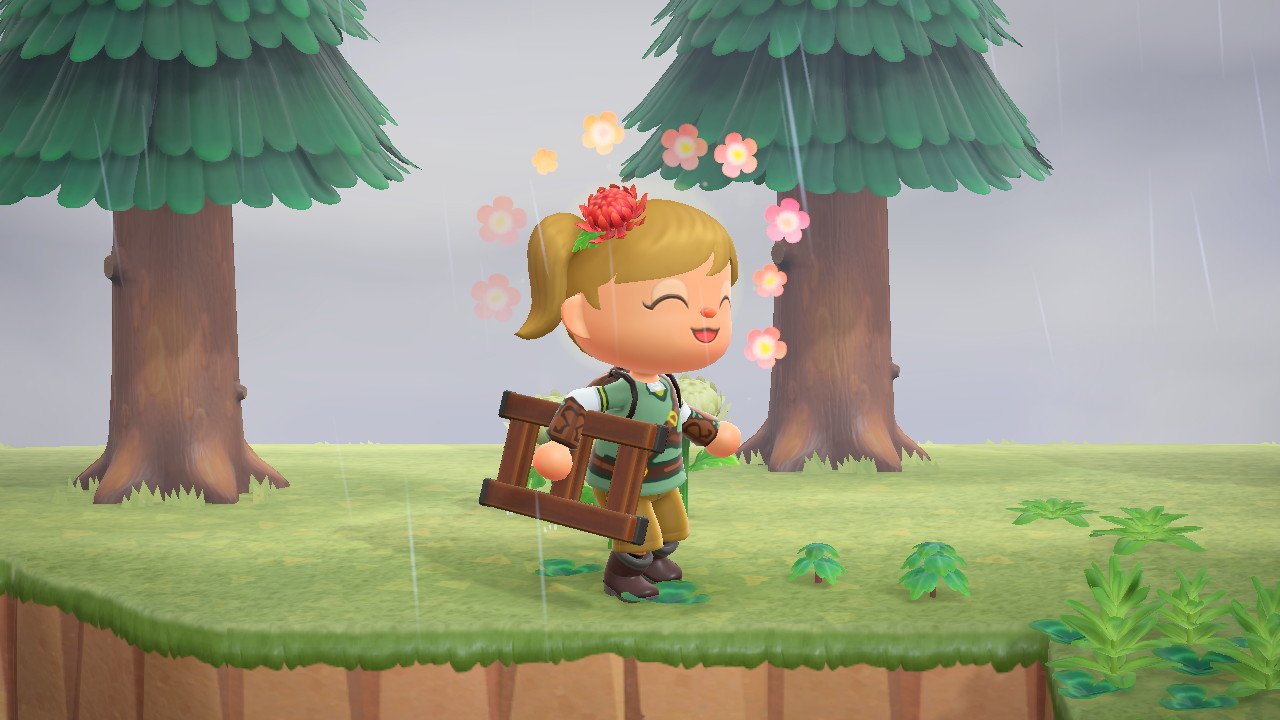
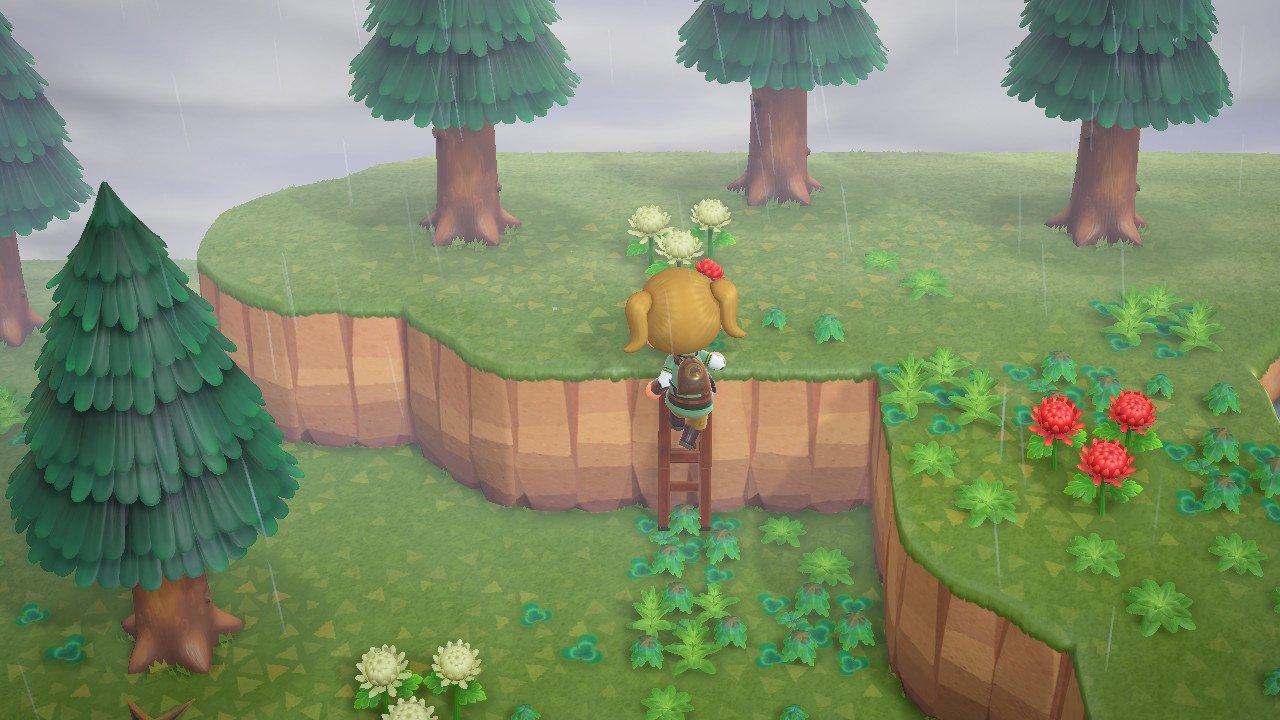
To use the ladder, you simply run up to a cliff with the ladder in your hands and press the A button. Or, if you've got something else in your hands when you approach the cliff, select the ladder from your list of tools while standing at the base of the cliff and then press A.
Your character will automatically place the ladder on the ground and begin climbing. Now it's finally time to reach all those flowers, bodies of water, fish, and bugs that have been taunting you from the start of the game.
Going places
Now that you know how to unlock the ladder, you can really have full reign of your island. Pull those weeds, collect the best bugs, and catch the best fish in your never-ending quest to earn Bells and pay off your loan. Once all your new villagers move in, your little island won't look so deserted, and you'll be on your way to building the getaway of your dreams. Grab your favorite Animal Crossing: New Horizons accessories and let the island vibes take over you.
Get More Switch
Nintendo Switch
from iMore - Learn more. Be more.
via TechnW3


No comments: