Make your island easier to traverse by building bridges and inclines - TechnW3
Make getting around your island easier with some construction projects.
When you first start playing Animal Crossing: New Horizons, much of your island is inaccessible because you can't cross rivers or climb cliffs. Eventually, you'll be able to get across water by crafting a vaulting pole after Blathers pitches his tent on your island. Still, you're going to need to do some more work and have plenty of Bells to make it permanently easier to navigate your home.
Building your first bridge
After Timmy and Tommy have opened their shop, Nook's Cranny, Tom Nook will ask you to stake out plots of land for three new villagers who want to move in. You can put them all in your starting area, but you'll also have the option to build them across the river by constructing your very first bridge.
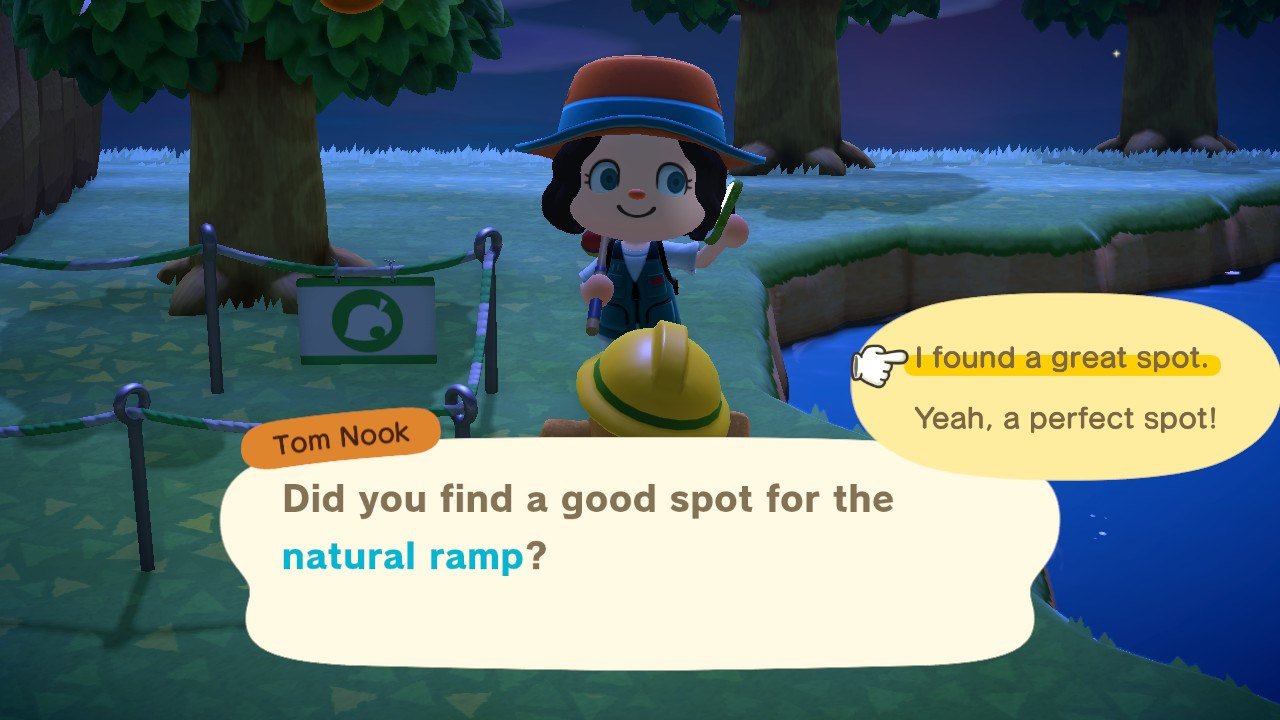
Tom will give you a recipe to construct a Log Bridge made from four log stakes, four clay, and four stones. Gather up the materials and hit the DIY bench, and you'll whip up a bridge construction kit. Stake out a decent spot. You'll need to find a place where the river is just the right width and the land on either side is even before you can begin construction. Like with any structure, you can imagine how it will look before you commit. Once you've found the perfect place, you'll be able to set up your construction site. The next day, your bridge will be built. Unfortunately, constructing more bridges only gets more challenging.
Let's talk infrastructure
You won't be able to do any more construction until you've finished upgrading Resident Services from a tent to a building by getting those three villagers to move into their furnished homes. Once that happens, Tom Nook will set up a desk where you can talk to him about projects to work on. One of the options is "Let's talk infrastructure," which will let you build additional bridges or inclines that allow you to reach elevated areas of your islands.
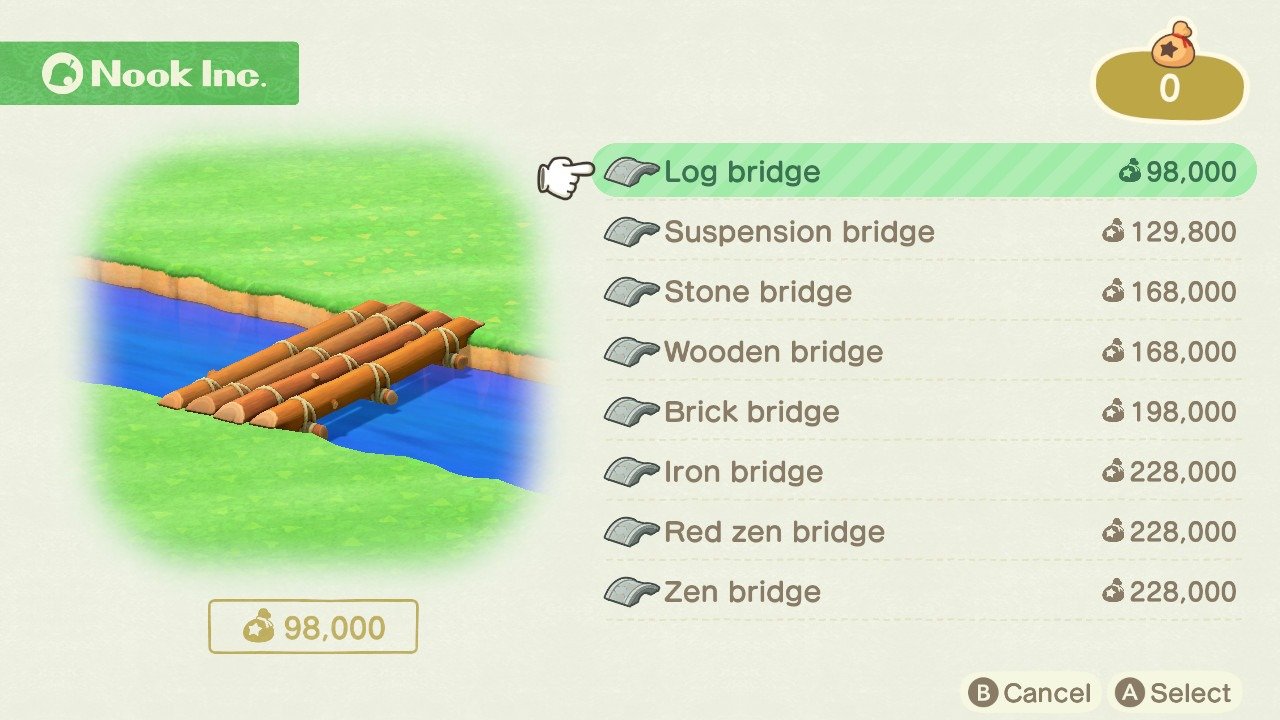
Unfortunately, you can't just craft these structures with materials you've gathered around the island. Instead, you'll need to pick out kits of varying prices and styles. These are the eight types of bridges and their prices.
- Log bridge: 98,000 Bells
- Suspension bridge: 129,000 Bells
- Stone bridge: 168,000 Bells
- Wooden bridge: 168,000 Bells
- Brick bridge: 198,000 Bells
- Iron bridge: 228,000 Bells
- Red zen bridge: 228,000 Bells
- Zen bridge: 228,000 Bells
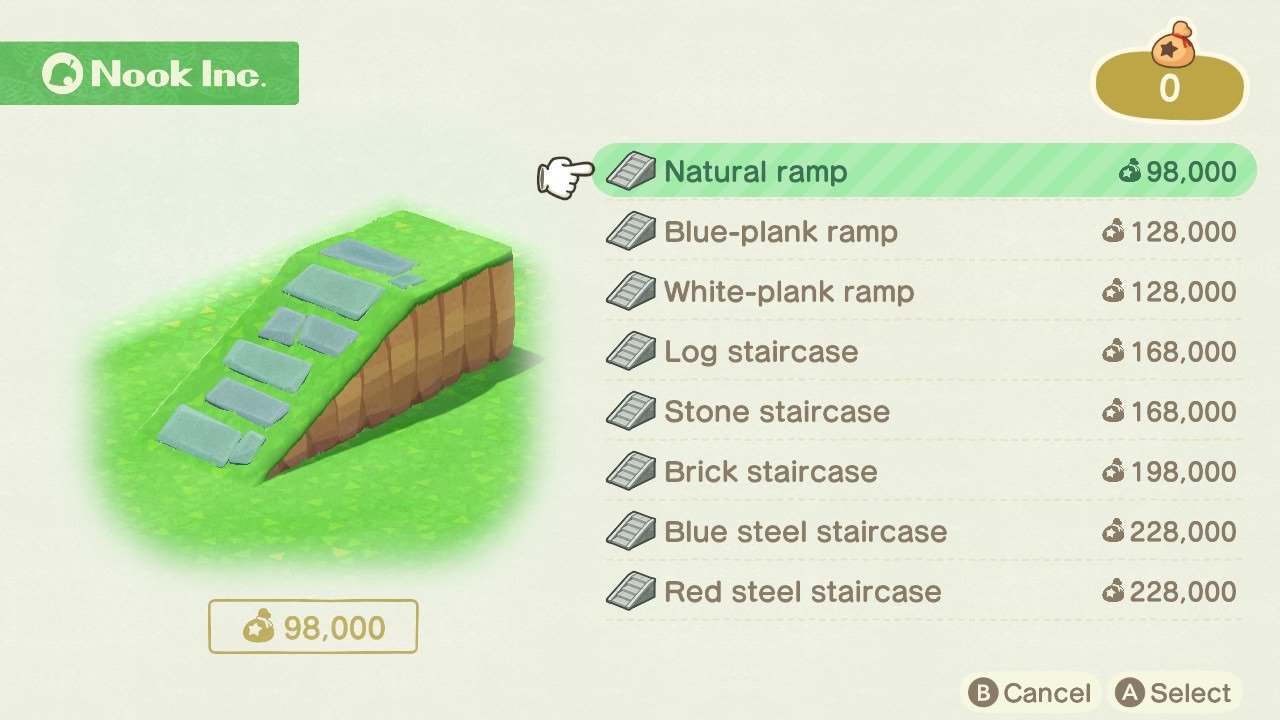
Inclines must be placed in a clear area relatively close to the base of a cliff. These are the eight types of inclines and their prices.
- Natural ramp: 98,000 Bells
- Blue-plank ramp: 128,000 Bells
- White-plank ramp: 128,000 Bells
- Log staircase: 168,000 Bells
- Stone staircase: 168,000 Bells
- Brick staircase: 198,000 Bells
- Blue steel staircase: 228,000 Bells
- Red steel staircase: 228,000 Bells
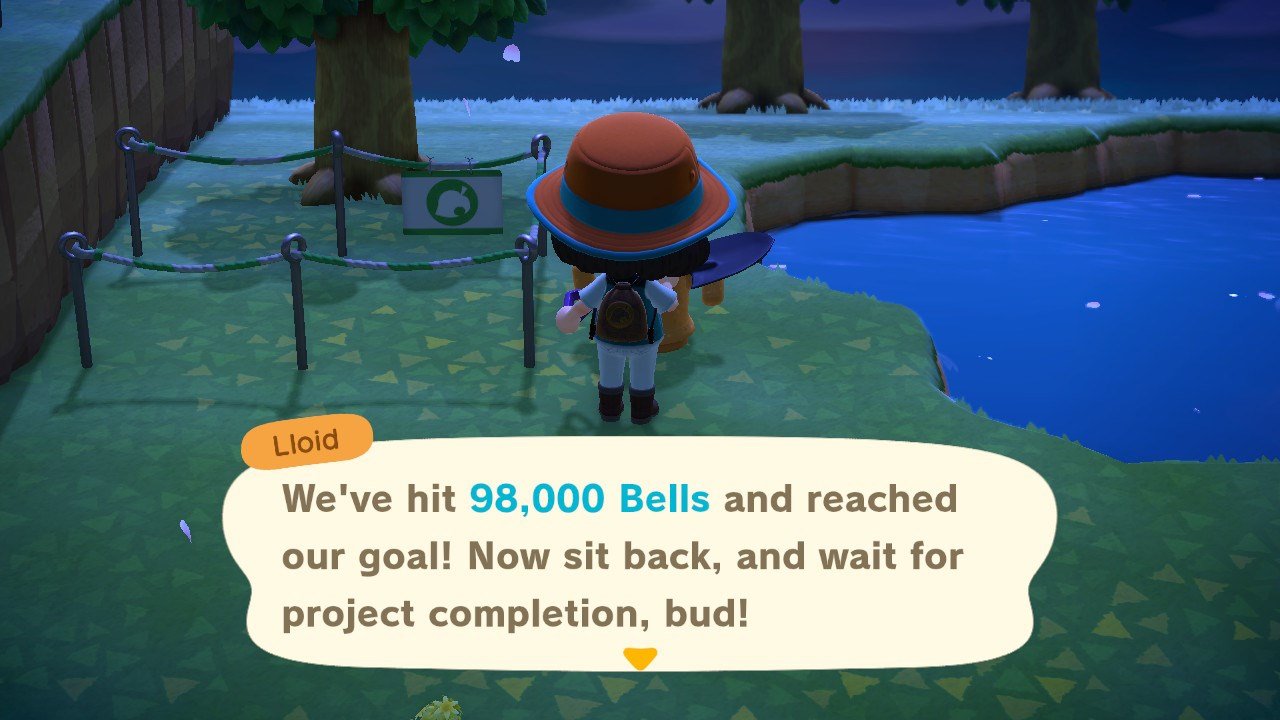
You won't need to pay the price upfront. Instead, once you place a kit, you'll get a construction site supervised by Lloid, who will ask for donations. As with everything else on your island, your residents aren't actually going to help you. Once you've paid the full price, Lloid will let you know that the project is complete, and you can come back the next day to see it.
You'll want to be careful about where you place your inclines and bridges. The number you can place is limited. Since the 2.0 update, you can now have a total of ten across your island, increased from the previous limit of eight. But if you need more, there is also a new permanent ladder DIY addition as well.
Walk on
These ramps, stairs, and bridges will not only make your island more accessible but also give it a little flair and allow your villagers some more space to roam in. This is a fun way to start customizing your island. Get the villagers you want together with some amiibo figures, build up your bridges and inclines, and even redesign your home! Get creative and have fun!
Get More Switch
Nintendo Switch
from iMore - Learn more. Be more.
via TechnW3




No comments: